As I have now managed to sketch a rough plan of what I would like my masterplan layout to look like, today I started off creating a CAD drawing of my layout. This was very straight forward as we was provided with a Crib sheet with the different house styles in AutoCAD, so all we had to do was copy and paste them in rotate and align them in the places we would like.
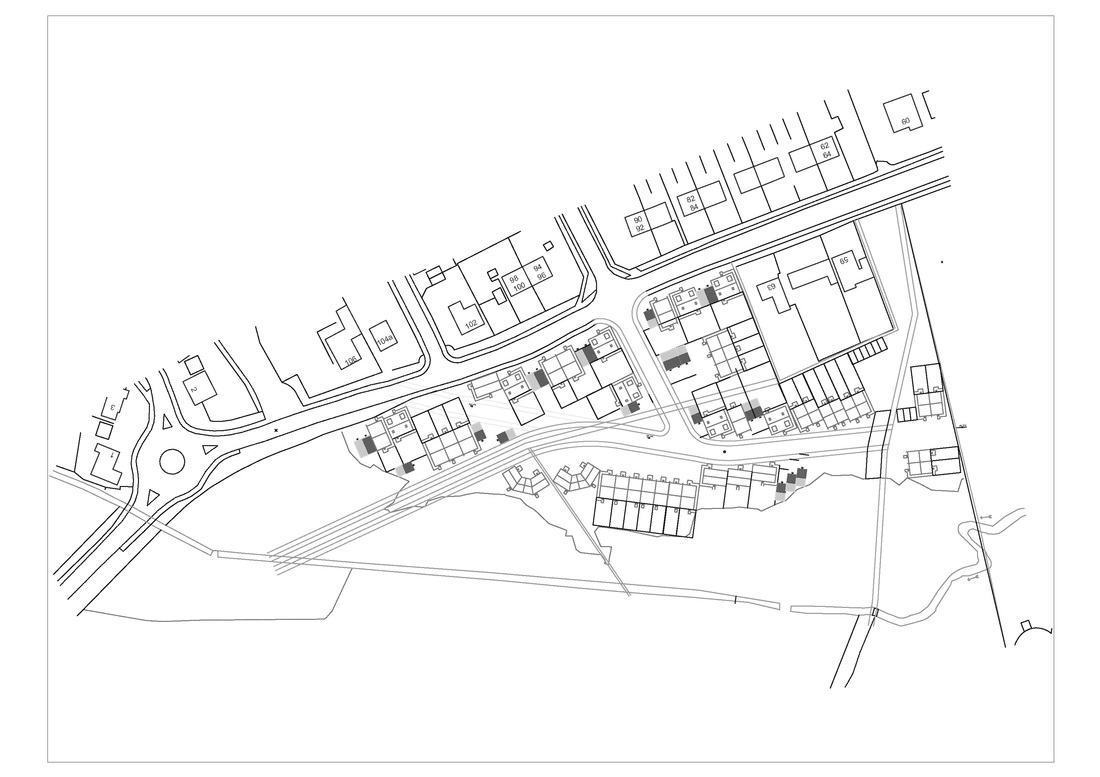
I also created rough garden sizes to ensure that every property had a good garden space (minimum of 10.5m long x width of the house. I also added single and double garages, and places where there wasn't enough space for a garage I placed a normal parking space.
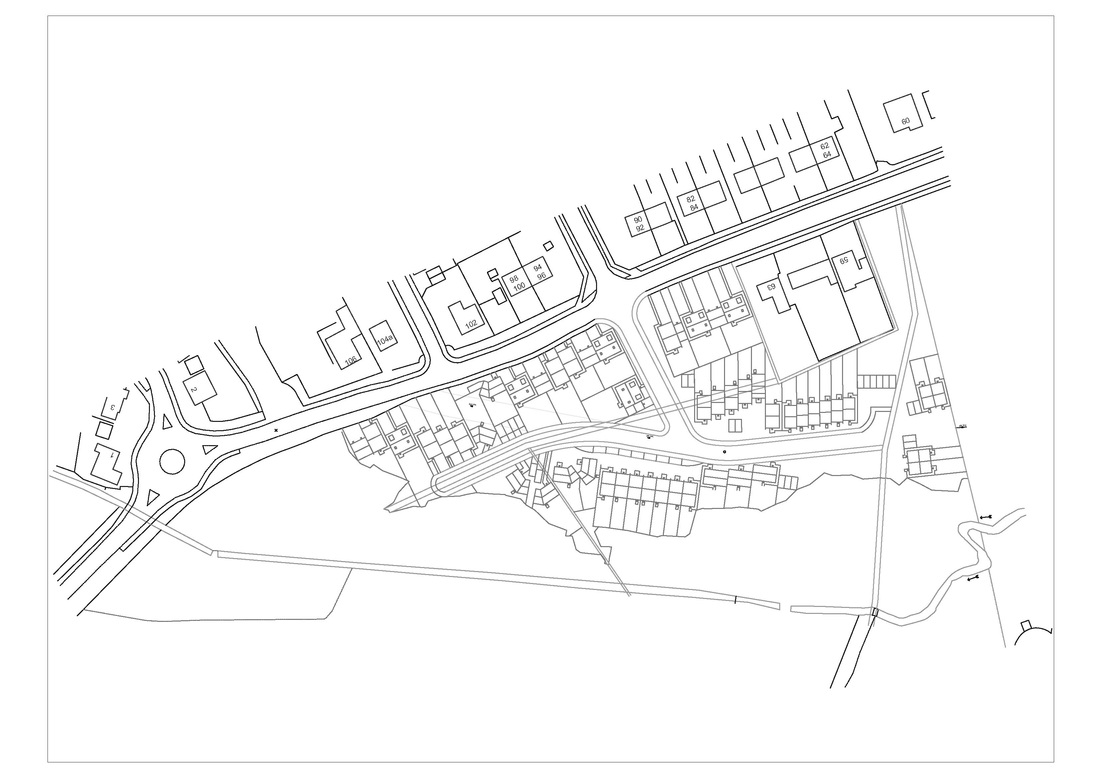
After I placed all the houses and parking spaces, I then started to tidy the drawing up a bit by drawing more appropriate garden spaces so they fit more effectively around the plt.
I then also reaslised some of the houses within the middle wasn't actually placed in the right direction, so i then moved them so they are more south-west facing which would allow more light to penetrate through to the houses.

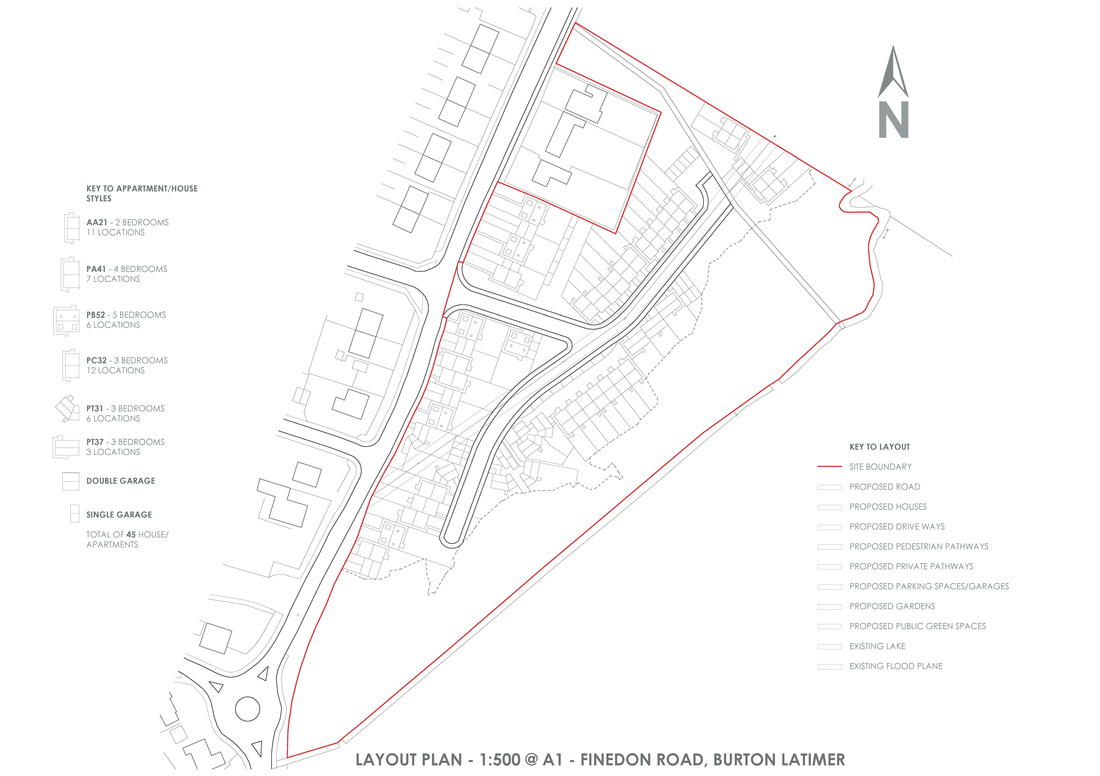
After I cleaned the drawing up on AutoCAD I then took the drawing to Illustrator to make a few final touches. In Illustrator I started changing the line thicknesses, line styles to make certain aspects stand out more. For example the Floor plane line I changed so it was dashed as it makes it more clear what it is.
I then created two keys, the one on the left explains the different houses styles used and how many of them were used and the key on the right shows the different colours I will introduce later on.
I then created two keys, the one on the left explains the different houses styles used and how many of them were used and the key on the right shows the different colours I will introduce later on.
 RSS Feed
